
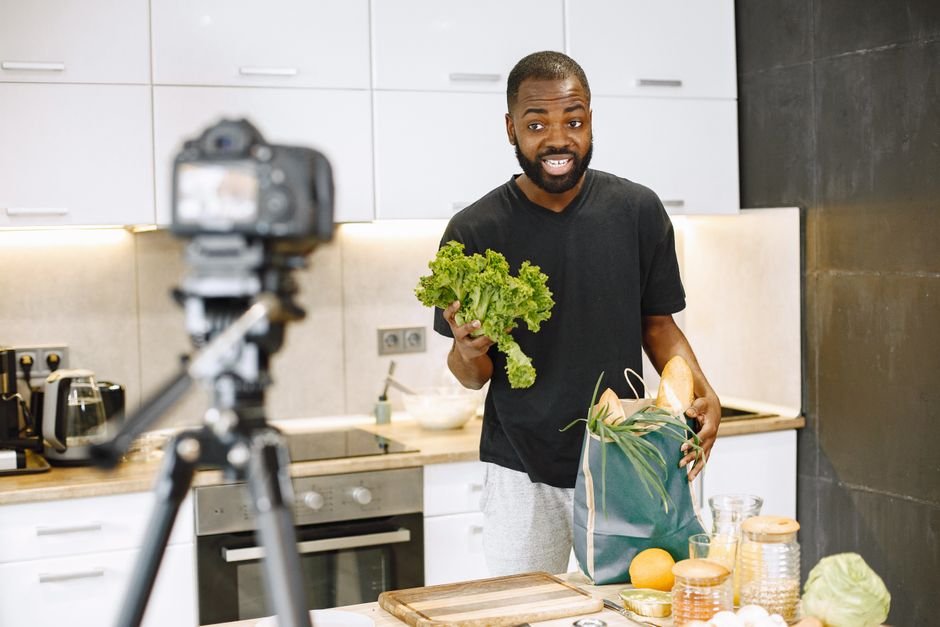
Setting up a YouTube channel is the easy part. You need a Google account, then you add a channel name, channel art, and a channel description. That process takes an afternoon at most. The part that trips people up is everything that follows the setup, which is why so many channels sit empty a month after they are created.
Most searches for how to start a youtube channel come from people who already know they want to publish. What they usually lack is a clear order of operations and a realistic sense of what the first few months look like. This walkthrough covers both, starting with the technical setup and moving into the decisions that determine whether your channel ever gains traction.
What You Need Before You Upload Anything
The requirements for a channel are shorter than most beginners assume. Beyond a Google account, you are dealing with settings and text fields, not hardware.
- A Google account, which is the foundation the channel is built on
- A channel name you are comfortable seeing on every video
- Channel art, which includes the banner and profile image viewers see first
- A channel description that explains what the channel is about and who it serves
- A topic area narrow enough that a stranger could describe it in one sentence
- Some way to record, whether that is a phone, a webcam, or a dedicated camera
Notice that nothing on that list requires spending money before you understand what you are making. Beginners who buy equipment first and choose a topic second usually end up with expensive gear and no direction. Start with the account and the idea, then let your content tell you what you actually need.
Step One: Set Up the Channel With a Google Account
Your channel lives inside a Google account. Sign in to the account you want to use, then create the channel from there. If you already use that account for personal email, Gmail, or Drive, think about whether you want your channel attached to it or to a separate account instead.
- Sign in to the Google account you plan to use for the channel.
- Create a new channel and give it a name.
- Confirm the name and finish the setup flow.
- Move straight into the customization settings for art and description.
Interface details shift over time as YouTube updates its layout, so if a button is not where a tutorial says it should be, check YouTube's official help documentation rather than following an older walkthrough. The underlying steps stay the same even when the screens move around.
Step Two: Choose a Channel Name
Your channel name appears everywhere: on your videos, in search results, in comments, and in whatever your viewers call you when they recommend you to a friend. That makes it worth more than thirty seconds of thought.
- Keep it easy to say out loud, because people will have to spell it for others
- Connect it to your topic so the name signals what viewers get
- Avoid tying it so tightly to one format that you cannot expand later
- Skip names that imitate an established creator, since that only invites confusion
You can change a channel name later, but every change costs you whatever recognition you have built. A name that is slightly plain but clear beats a clever name nobody can remember.
Step Three: Add Channel Art and Write a Channel Description
Channel art and your description do different jobs. The art catches the eye when someone lands on your page. The description tells them, in plain language, what they will find if they subscribe.
For the description, answer three questions in a short paragraph or two. What does this channel cover? Who is it for? How often should a viewer expect new videos? If someone reads only the first line, they should still understand the channel. Many creators also include a brief line about who runs it, which helps a new viewer feel like there is a person behind the videos.
Step Four: Niche Down Before You Film
The most consistent advice from creators who have started channels is to niche down and talk to a specific audience. Going broad feels safer, because you keep every possible topic open. In practice, a broad channel gives a new viewer no reason to subscribe, since they cannot tell what they are signing up for.
Niching down does not mean choosing a tiny topic you will run out of material for. It means choosing a clear one. If your interest is cooking, that is a category, not a niche. Weeknight meals for people cooking for one is a niche. If your interest is fitness, training for a first race is a niche. The test is whether a stranger could guess what your next five videos are about.
Once you have that focus, everything else gets simpler. Your name makes more sense, your description writes itself, and your video ideas stop being a blank page.
Step Five: Build a Library, Not a Highlight Reel
New creators tend to judge a channel after three or four videos. That is far too early. A channel is a library, and a library with five entries is not yet a library. The point of your first stretch of publishing is volume and repetition, not proof that you are good at this.
Do not evaluate early. Give yourself a long runway where the only goal is to keep producing and to get slightly better at one thing per video. The skills that make videos watchable, such as clearer speaking, tighter editing, and better framing, come from doing the work repeatedly, not from waiting until you feel ready.

Step Six: Pick a Publishing Rhythm You Can Keep
Consistency matters more than intensity. A schedule you can hold for six months will beat a burst of daily uploads followed by silence, because the pause resets any momentum you built. Choose the pace that fits your actual week, then defend it.
If you are unsure where to start, decide based on how long one video realistically takes you from planning through publishing. If that number is eight hours, promising three videos a week is a plan you will abandon. Honest math beats ambition here.
A Plan for Your First Videos
- Write down ten questions your specific audience asks, and turn the best five into videos.
- Film the simplest one first so you learn your setup without pressure.
- Watch your own footage and pick one thing to improve in the next video.
- Publish without waiting for the video to feel perfect.
- Repeat until your library starts to look like a body of work.
Working from audience questions keeps your content aligned with the niche you chose, and it means you are never guessing what to make. As your library grows, older videos continue to be discoverable long after the upload date, which is why breadth of topics within a narrow niche pays off.
Beginner Mistakes That Slow Channels Down
- Choosing a topic so broad that no viewer can describe the channel
- Quitting or rebranding after a handful of videos
- Comparing early numbers to creators who have hundreds of videos published
- Delaying the first upload until the equipment or lighting is ideal
- Copying a popular channel's style instead of building your own format
Each of these mistakes shares a cause: treating the early phase as a test of talent rather than a period of construction. The channel is not being graded. It is being built.
What Actually Grows a Channel After Setup
Setup gets you a page. Consistency gets you a channel. The creators who stick with a narrow focus, publish on a rhythm they can maintain, and keep improving one small thing at a time are the ones whose libraries eventually carry their own weight.
If you want to move forward today, create the channel, write the name and description, and sketch your first ten video ideas. That is enough for one sitting. The rest is repetition.
Frequently Asked Questions
Do I need a Google account to start a YouTube channel?
Yes. A channel is created from inside a Google account, so that is the first thing you need. Once signed in, you create the channel and then add details such as the channel name, channel art, and a channel description. If you plan to use the account for personal email as well, decide early whether you want the two mixed together.
How long does it take before a channel grows?
There is no reliable timeline, which is why the advice is to avoid evaluating your channel early. You have to build a library first. Treat the first stretch of publishing as construction work rather than a measurement of your ability, and judge progress by whether you are still publishing and improving.
Should I pick a broad topic or a narrow one?
Narrow wins for a new channel. A specific audience is easier to speak to, easier to name a channel around, and easier to plan videos for. Broad topics feel safer because nothing is closed off, but they give a new viewer no clear reason to subscribe. Narrow down, then expand once you have momentum.
How often should I upload?
Choose the fastest pace you can genuinely maintain for months, not weeks. Consistency matters more than upload volume, and a schedule you abandon after a month undoes the progress you made. Work out how long one video actually takes you, then set a rhythm that fits inside your real week.