
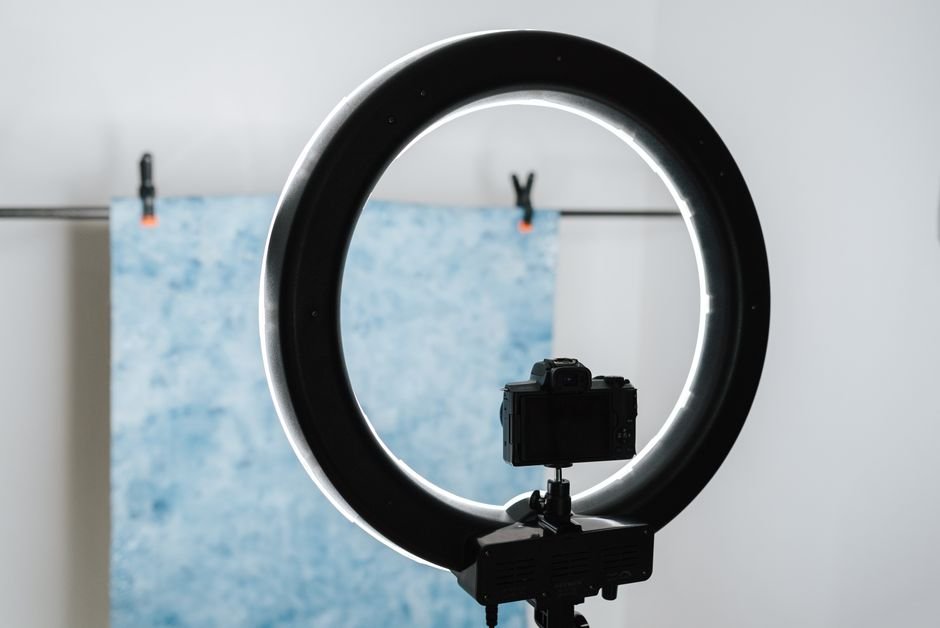
A small room, one lamp, and a phone can produce footage that looks deliberate. What separates that from the shaky, orange-tinted first video most people upload is not the price of the equipment. It is where the light sits, what it bounces off, and what sits behind you. The good news for anyone searching for YouTube lighting for beginners is that almost every improvement you can make in your first month costs nothing but a bit of rearranging.
This guide walks through the setup that most tutorials start with, how to adapt it to the lights you already own, and how to choose a backdrop that fits a small home studio without swallowing the room.
Why lighting decides how your video reads
Lighting does more than make a face visible. It sets the tone of the content and shapes how the viewer reads the whole video. Flat, even light reads as neutral and instructional. A brighter key on one side with deeper shadow on the other reads as more dramatic and more produced.
There is a practical payoff too. When the lighting is right, the video looks more professional, and that makes you look more trustworthy to the person watching. It also keeps people watching, which is the thing every channel needs. A viewer will forgive a plain wall. They rarely forgive a face that is half in shadow with a blown-out window behind it.
Three-point lighting, the framework almost every tutorial starts with
Three-point lighting is the standard starting structure for filming a person, and it is the setup most beginner tutorials teach first. You do not need three expensive fixtures to try it. You need three positions, and you can fill those positions with whatever you have.
Key light: the main source
The key light is your brightest source and the one that defines the shape of the face. Place it to one side of the camera rather than directly above it, and slightly higher than your eyes so it falls down onto the face instead of up into the nostrils. Once the key light is set, everything else in the room is adjusted around it.
Fill light: the softer second source
Fill light sits on the opposite side of the key and does one job: lifting the shadows the key created so they do not go completely black. It should be noticeably weaker than the key, otherwise the face flattens out and the shape disappears. A second lamp, a white wall, or a large piece of white card can all work as fill.
Backlight: separation from the backdrop
The third point sits behind or above and behind you, aimed toward the back of your head and shoulders. Its job is to separate you from whatever is behind you, so a person does not visually merge into the wall. In a small room this is often the hardest light to place, and it is also the one beginners skip most often.
Use the lights you already have
One of the most useful ideas in budget lighting advice is simple: it does not matter which lights you have, it matters how you use them. Creators who have spent years buying and replacing gear often say the same thing, that they neglected lighting for a long time and paid for it visually.
Before you buy anything, inventory the room. A window is a large, soft, free source. A desk lamp can serve as a key if you soften it. A floor lamp in the corner may already be a usable backlight. The part that needs attention is control, which means being able to move each source, point it, and soften it.
- Turn off the overhead ceiling light. It drops shadow straight down under the eyes and nose and flattens everything.
- Pick one direction for your main source and stick to it for the whole recording.
- Soften hard sources by bouncing them off a white wall or ceiling rather than pointing them straight at your face.
- Kill mixed colour by making sure the lamps around you are the same type as each other.
Match the DIY solution to your room
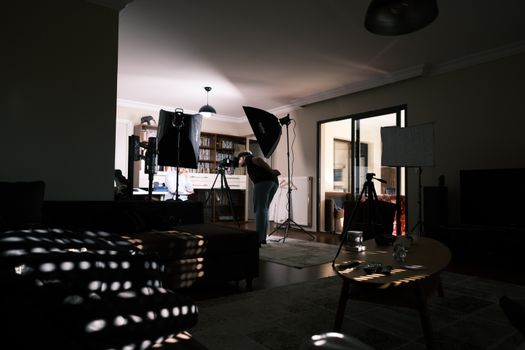
Every home studio has a different limitation, so the fixes have to be specific to the filming location. Creators who teach home studio setups tend to demonstrate three-point lighting alongside improvised solutions rather than a fixed shopping list. That is the right instinct. A bright white wall behind the camera can bounce enough light to act as fill. A pale curtain over a window turns harsh daylight into something usable. A dark blanket over a shiny surface removes a reflection you cannot otherwise control.
Walk around your room at the time of day you plan to record and look at what the light is doing. Then decide which of those three positions, key, fill, and backlight, you can solve for free before you spend anything.
Build one setup and repeat it
There is real value in a lighting setup you have used for years. A setup you know is a setup you can rebuild in minutes, which means you record more often and your channel looks consistent from video to video. Beginners tend to chase a new configuration every time. Audiences notice inconsistency even when they cannot name it.
Once you find positions that work, mark them. Tape on the floor for the tripod and the light stands, a note in your phone about which lamp goes where. Rebuilding the same three positions each session is faster than starting from scratch and it removes a decision from your recording day.
Backdrops for a small room
The backdrop is the second half of the setup and the part most people get wrong in a tight space. Three things matter more than the material itself.
The first is distance. If you are sitting close to the wall behind you, your own shadow lands on it and your backlight has nowhere to work. Moving your chair forward, even a little, gives the backlight space and pushes the wall softly out of focus.
The second is contrast. A backdrop that is close in tone to your hair and your clothing will swallow your outline. A plain surface in a different value gives the subject somewhere to sit against.
The third is texture. Fabric creases and seams show up on camera, and a patterned wall is busier on screen than it looks in person. Smooth and simple reads as intentional. A plain coloured surface can also be dressed with a projected pattern from a light if you want a stronger look, which is how a single backdrop can carry more than one visual mood without repainting the room.
Lighting yourself when you wear glasses
Glasses reflect your light sources, and the reflection is most obvious when a source is close to the camera axis. The fix is positioning, not new equipment. Raise the key light and move it further to the side so the reflection is thrown away from the lens rather than back into it. Tilt the frames down very slightly. Then check on the actual camera screen, not in the mirror, because the camera sees a different angle than you do.
A first-session order of operations
- Close the blinds or kill the overhead light so you start from a controlled base.
- Set the camera and your chair first. Everything else is positioned relative to those two things.
- Place the key light to one side and check the shape of the shadow on your face on the camera screen.
- Add fill on the opposite side and pull it back until the shadow is lifted but still visible.
- Add the backlight and confirm there is a visible edge between you and the backdrop.
- Set the backdrop distance and check for your shadow on it.
- Record a short test clip and watch it back on a different screen before you record the real thing.
When it makes sense to upgrade
Upgrade when placement has stopped solving the problem. If you have moved every lamp in the room and the footage still looks flat, or the room is too small to separate yourself from the background, then new gear will help. Until then, a better light will mostly give you a brighter version of the same picture.
A beginner-friendly framework for video and photo lighting published in 2026 breaks the whole subject down into five essential decisions rather than a gear list, which is a useful reminder that the choices come before the purchases. Work out your decisions first. The shopping is the easy part.
Frequently Asked Questions
Is one light enough to start a YouTube channel?
Yes. Beginner lighting guides commonly describe setups that run from a single light up to a full multi-light arrangement, and one well-placed source is a legitimate starting point. A single key light with a white wall bouncing some fill back into the shadow side will get you recording. Add a backlight when you can.
Can I use a window as my main light source?
A window is a large, soft source and it is free, so it is a sensible place to begin. The catch is that daylight changes through the day. Pick a recording time, keep it consistent, and avoid mixing window light with a household bulb, because the two will not match in colour.
How far should my backdrop be from where I sit?
As far as your room allows, and further than you think. The goal is to stop your own shadow from landing on the backdrop and to give the backlight room to create separation. Even a small amount of extra space helps, and it also softens the background on camera.
Why does my video still look flat with the lights on?
Flat footage usually means the light is arriving from the same direction as the camera, filling in every shadow. Move your key light to the side and reduce the fill until some shadow remains. Shape comes from the difference between the lit side and the shadowed side, not from total brightness.