
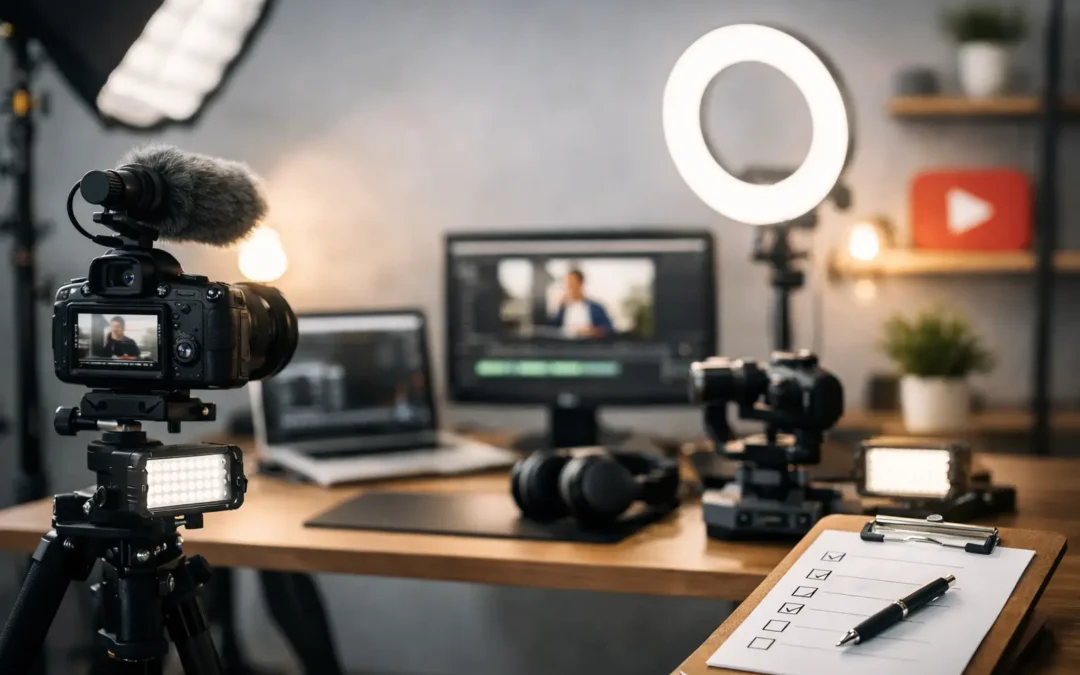
A bad studio setup usually reveals itself in the same way - muddy audio, flat lighting, a distracting background, and a recording process that feels harder than it should. A solid youtube studio setup checklist helps you avoid those problems before they slow down your content. If you want faster production, better viewer retention, and videos that look more credible, your setup needs to support your channel goals instead of fighting them.
This is where a lot of creators overspend or under-plan. They buy a camera first, then realize their room sounds terrible. Or they get a nice microphone and still look dim on screen because their lighting is weak. The smartest setup is not the most expensive one. It is the one that fits your content style, your room, and how often you plan to publish.
Start your YouTube studio setup checklist with your content type
Before you touch gear, define what you are filming. A talking-head educational channel needs a different setup than a product review channel, a livestream setup, or a tutorial channel that shows a desk, whiteboard, or software screen. This one decision affects camera framing, lens choice, lighting position, background design, and even how much space you need.
If you mostly film yourself speaking to camera, prioritize eye-level framing, flattering light, and clean audio. If you record demos or unboxings, your checklist should also account for table space, overhead shots, and close-up lighting. If you run a business channel, your setup needs to look polished without feeling stiff. Viewers want clarity and trust, not a corporate conference room.
A useful rule is to build for your main format first. You can always expand later. Trying to create a studio that supports every possible video style on day one usually leads to clutter and wasted money.
Room choice matters more than most creators expect
The room is not just where you place the gear. It shapes your sound, your lighting consistency, and your recording comfort. Small rooms with carpet, curtains, and furniture often sound better than big empty rooms with hard walls. Natural light can help, but too much of it makes your image inconsistent across different times of day.
When you choose a recording space, listen before you look. Echo, air conditioning noise, street traffic, and computer fan hum will show up in your videos faster than viewers will notice your camera model. If the room sounds harsh, add soft materials like rugs, curtains, padded furniture, or acoustic panels. You do not need a perfect sound booth, but you do need to reduce reflections.
You should also think about control. A room you can record in consistently is better than a prettier room with changing light and constant interruptions. Reliable production usually beats visual perfection.
Camera setup: good enough is often enough
Your camera should match your stage as a creator. For many beginners and intermediate creators, a modern smartphone, webcam, or entry-level mirrorless camera is more than enough if your lighting and audio are handled well. Viewers will forgive slightly less cinematic video faster than they will forgive bad sound.
If you use a smartphone, stabilize it with a tripod and frame it properly. If you use a webcam, make sure it is at eye level and supported by decent front lighting. If you invest in a mirrorless camera, check for clean HDMI output if you stream, reliable autofocus if you move on camera, and battery or power options for longer sessions.
What matters most is consistency. Choose a camera you can set up quickly and trust every time. A complicated setup that creates friction will slow your publishing rhythm, and that hurts growth more than using a simpler camera.
Framing and lens choices
For most YouTube videos, a medium shot works best. Show your head, shoulders, and a bit of your environment. It feels personal without being cramped. Wider shots can look more cinematic, but they also expose more background clutter and make lighting harder.
If your camera uses interchangeable lenses, keep it simple. A standard focal length is versatile for most studio content. Ultra-wide lenses can distort your face, while very tight shots can feel stiff unless that is a deliberate style choice.
Lighting is what makes your setup look professional
Lighting changes how expensive your setup feels. A basic camera with strong lighting often looks better than a premium camera in bad lighting. For most creators, one key light placed slightly off to the side and above eye level is the best starting point.
If your shadows look too harsh, add a fill light or bounce light back onto your face using a reflector or a light-colored wall. A background light can help separate you from the scene, especially if your wall color and clothing blend together.
Consistency matters here too. If you rely on window light, your footage may shift in brightness and color from one take to the next. That is fine for casual content, but if you want a repeatable setup, controlled lights are easier to manage.
Color temperature and placement
Match your lights whenever possible. Mixing daylight from a window with warm bulbs in the room can create odd skin tones that are hard to fix in editing. Keep your main light source consistent, then adjust your camera white balance to match.
Placement matters as much as brightness. A light directly in front of your face can flatten your features. A light too far to the side can feel dramatic in a way that does not fit educational content. Small adjustments make a big difference, so test before you commit.
Audio is the non-negotiable part of the checklist
If you only improve one part of your studio, improve your audio. Clear sound builds trust, keeps people watching longer, and makes your content feel more serious. A viewer may tolerate average video quality. They will click away from distracting audio much faster.
A USB microphone can work well for desk recordings, voiceovers, and livestreams. A shotgun mic is helpful when you want a cleaner frame and can position it just out of shot. A lav mic works well if you move around or film standing tutorials. There is no single best choice. It depends on how you shoot.
The key is mic placement. Even a good microphone sounds weak if it is too far away. Get it close to your mouth without creating plosives or rubbing noise. Then monitor your levels so you are not clipping or recording too quietly.
Reduce background noise before editing
Do not treat editing software as your rescue plan. Turn off noisy fans, close windows, silence notifications, and record when your environment is calm. Clean audio at the source saves time and keeps your voice sounding natural.
Build a background that supports your brand
Your background should give viewers context without stealing attention. A clean wall can work. A shelf with a few relevant items can work. A branded office corner can work. The right choice depends on your niche and audience expectations.
Educational creators often benefit from a simple background with subtle personality. Business owners may want a space that signals professionalism and approachability. If your background is too busy, viewers start scanning the room instead of listening to you.
Keep depth in mind. If you can sit or stand a few feet away from the background, your image will usually look better. That separation helps lighting and creates a cleaner visual layer between you and the room.
Your YouTube studio setup checklist should include workflow
A studio is not just gear. It is a system. If your cables are messy, your batteries are dead, your memory cards are full, and your lighting takes 20 minutes to rebuild every session, your setup is costing you uploads.
Create a repeatable recording workflow. Keep your tripod height marked. Leave lights in place if possible. Store batteries, chargers, SD cards, and adapters in one spot. Test audio before every session. Record a short clip and review it before filming the full video.
This is where many creators level up. Better workflow leads to more consistent publishing, and consistent publishing gives your channel more chances to improve. That growth mindset matters more than chasing a perfect studio on day one.
A practical final check before you hit record
Run through a fast pre-record routine: camera framed, lens clean, lights on, white balance set, mic connected, levels checked, background tidy, phone silenced, and script or talking points ready. This takes two minutes and can save an entire recording session.
If you are still building your setup, focus on the upgrades that solve your biggest bottleneck first. For one creator that is audio. For another it is lighting. For someone else it is simply creating a space they can walk into and start filming without friction. That is the real value of a youtube studio setup checklist - it turns your studio into a tool for channel growth, not just a collection of gear.
The best setup is the one that helps you publish your next strong video with less stress and more confidence. Keep it clean, keep it practical, and let your studio earn its place in your growth strategy.