
Most people who want to start a YouTube channel believe the camera is the decision that makes or breaks them. It is not. One creator who now runs a channel with tens of thousands of subscribers began with a used iPhone XR, a $20 tripod, and free iMovie editing software. That setup produced watchable videos long before a single dollar went toward a dedicated camera. The best equipment for starting a YouTube channel on a tight budget is usually the gear that removes your worst excuse, not the gear that impresses other creators.
Published guides tend to agree on the same short list. A breakdown from TakeTones names five basics: a camera, an external microphone, soft boxes, a camera remote, and a gimbal or tripod stabilizer. A 2026 guide from NearStream repeats those same priorities with newer hardware, and a 2026 article from Trena Little frames the entire conversation around cheap gear instead of premium gear. The categories have stayed stable for years. What keeps changing is how little you can spend inside each one.
Start With the Phone You Already Own
Before you open a shopping cart, take inventory of what is already in your house. A modern phone shoots video that is sharper than plenty of dedicated cameras sold a few years ago, and that is the exact path the creator above took with a used iPhone XR. The NearStream guide highlights the NearStream VM33 as a compact option offering QHD recording, which shows how much capability now fits into small, inexpensive hardware. If your phone records 1080p or higher, you have a camera. Spend your money somewhere else first.
Think Media's beginner checklist is built around filming, editing, and posting, which maps to the three stages where gear actually affects your results. Filming gear shapes how your video looks and sounds. Editing gear shapes how fast you can finish. Posting gear is almost nothing, because uploading needs no equipment beyond an internet connection. Beginners overspend on stage one and ignore how much friction lives in stage two.
The Five Equipment Categories That Matter Most
Every serious beginner setup comes down to five purchases. They are listed below in the order most budget creators should consider them, though your specific channel format can change the ranking.
Camera
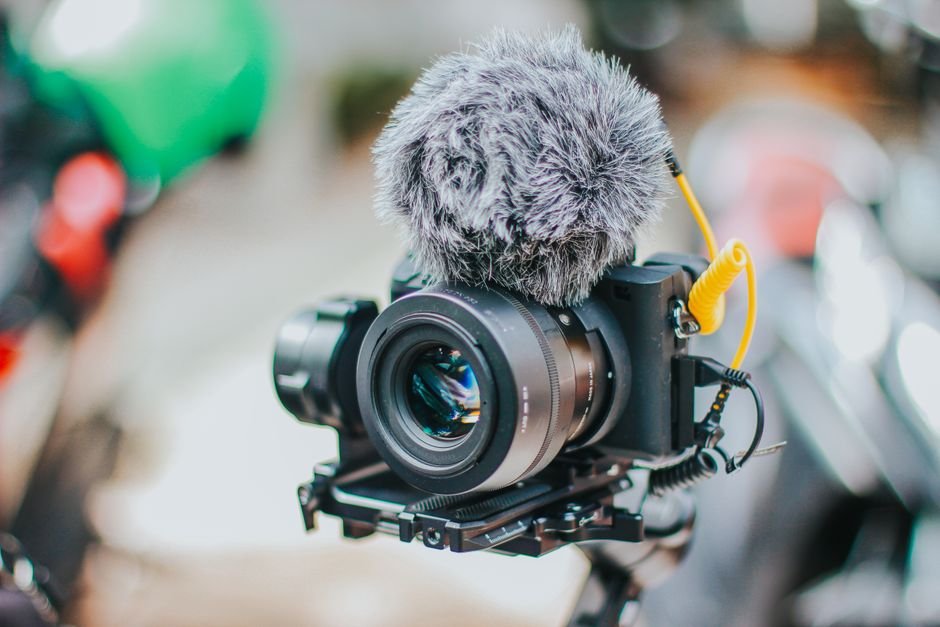
A camera is the least urgent purchase on this list. TakeTones lists it first because it is the obvious one, but a phone covers the job for a talking-head channel, a tutorial channel, or a vlog. The NearStream guide points to compact recording devices for creators who want something dedicated, and the Trena Little article treats the camera as one line item among several rather than the headline decision. If you upgrade anything first, it should not be this.
Microphone
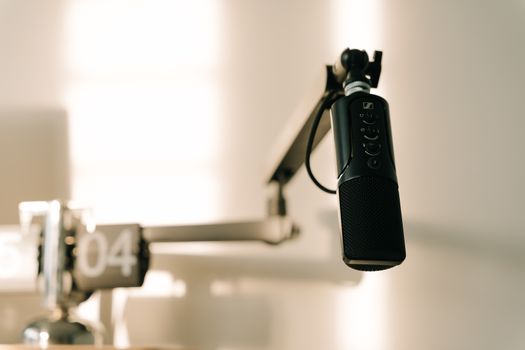
Audio is where budget channels lose viewers. An external microphone appears on both the TakeTones list and the NearStream guide, and it is the single upgrade that most reliably makes a beginner video feel professional. Room echo, keyboard clatter, and a laptop fan are far more damaging than soft focus. A simple external mic placed close to your mouth fixes most of it. Quora threads from new creators ask constantly about must-have accessories, and audio gear shows up in nearly every answer because it is the difference people notice immediately.
Lighting
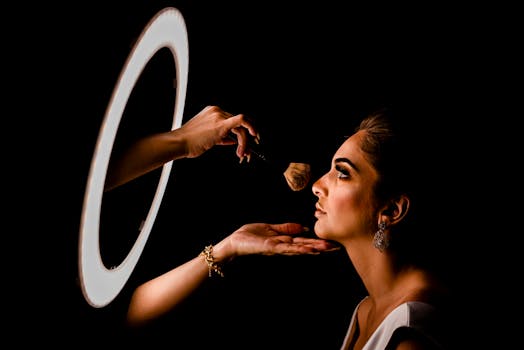
Soft boxes are the lighting answer on the TakeTones list, and they remain a reasonable target. The cheaper path is a window. Facing a window during daylight hours gives you a large, soft light source that costs nothing, and it beats most small on-camera lights in quality. When you do buy lighting, buy one source you can control rather than three you cannot. One light plus a wall to bounce off is enough to make a face look good.
Tripod or Stabilizer
The TakeTones list pairs a gimbal or tripod stabilizer with the camera remote, and those two items solve the same problem: keeping the frame steady while your hands are free. A gimbal is a bigger spend. A tripod is the budget move, and the $20 tripod in that used-iPhone setup shows how little is required. Joby makes tripods that appear in the NearStream gear guide, which gives you one concrete brand to compare against when you shop that category. A remote or a phone shutter button removes the shake that comes from reaching for the record key.
Editing Software
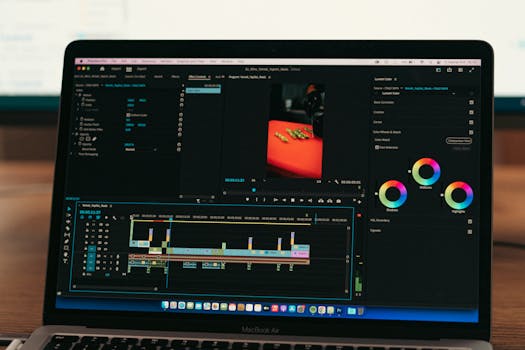
Editing software is the category beginners forget, and it is where free options shine. iMovie is free and was part of a setup that built a real channel. Most phones ship with a capable editor already installed. The NearStream guide describes its gear recommendations as fitting creator needs across the workflow, and the Think Media checklist explicitly covers editing alongside filming and posting. Your first editor does not need to be the one you keep forever. It needs to let you cut, add a title, and export.
A Priority Order for Buying on a Tight Budget
The table below translates those categories into a spending order. Treat it as a starting framework and adjust it based on what your channel actually shows on screen.
| Priority | Category | Why it matters | Budget approach |
|---|---|---|---|
| 1 | Microphone | Poor audio drives viewers away faster than poor video | External mic placed close to the speaker |
| 2 | Lighting | Bad light makes even good cameras look cheap | Use a window first, then one controllable light or soft box |
| 3 | Tripod or stabilizer | Steady framing signals production quality | Basic tripod plus a camera remote |
| 4 | Editing software | Determines how quickly you can publish consistently | Free editors such as iMovie |
| 5 | Camera | Improves image quality, but only after the first four are handled | Keep using your phone until it limits you |
What a Realistic Beginner Setup Looks Like
Put the priorities together and a workable budget kit looks unglamorous. A phone handles the picture. An external microphone handles the sound. A window or a single soft box handles the light. A tripod and a remote handle the steadiness. Free editing software handles the finish. Every one of those items appears on at least one of the published beginner lists referenced above, which means you are not cutting corners by choosing them. You are following the consensus.
The used iPhone XR, $20 tripod, and iMovie combination is the clearest proof that this works. That creator did not wait for ideal gear. The channel started, videos went up, and upgrades came later once the audience and the budget both existed.
Where Beginners Waste Money
The most common mistake is buying a camera before buying a microphone. The second most common is buying a lighting kit before testing whether a window is enough. The third is buying an expensive stabilizer for a channel that films entirely from a seated position, where a tripod does the same job.
Accessory shopping is another leak. Quora and Reddit threads about starting a channel are full of questions about which accessories are strictly necessary, and the honest answer is that most are not necessary at launch. A gimbal is worth it for walking footage. It is wasted money for a channel about software tutorials. Match the purchase to the footage you actually shoot.
When to Upgrade Each Piece
Upgrade triggers should come from problems, not from browsing. Replace or add a microphone when viewers mention audio. Add lighting when your videos look dim or your schedule stops matching daylight. Upgrade the camera when you need features your phone cannot give you, such as interchangeable lenses or better low-light performance. Add a stabilizer when you start filming while moving.
That approach keeps spending tied to evidence. It also means your first purchases stay useful rather than sitting in a drawer once your format changes. Budget creators who follow it tend to own fewer items and publish more videos, which is the trade that matters early on.
Frequently Asked Questions
Do I need a real camera to start a YouTube channel?
No. A phone is enough to begin. A published example of a successful setup used a used iPhone XR, a $20 tripod, and free iMovie software rather than a dedicated camera. Camera gear appears on most beginner checklists, but it is usually listed first simply because it is obvious. Handle audio, lighting, and steadiness before you spend on a camera body.
What is the single most important piece of budget gear?
An external microphone. Audio problems are immediately noticeable and they push viewers away, while image quality gets more forgiving treatment. Both the TakeTones beginner list and the NearStream guide include an external microphone as a core item. If you can only afford one upgrade after your phone, spend it on sound rather than on a new lens or body.
Is free editing software good enough for a growing channel?
Free software is enough to publish consistently, which is what a new channel needs most. iMovie is free and was part of a setup that built a channel from scratch. Think Media's beginner checklist treats editing as a core part of the workflow alongside filming and posting. Move to paid software when you hit a specific limit, not before.
How much should I spend before publishing my first video?
As little as possible. Start with what you own, add a microphone, and use natural light. A tripod and a camera remote are the next cheap additions, and both appear on the TakeTones list of basics. Spending a large amount up front delays your first upload and rarely improves the result. Later purchases are easier once you know what your videos actually look like.
Do I need a gimbal or is a tripod enough?
A tripod covers most beginner channels. The TakeTones list groups a gimbal and a tripod stabilizer as alternatives serving the same purpose, which means one or the other is sufficient. Buy a gimbal only if you film while walking or moving. If your videos are seated or shot from a fixed position, a basic tripod plus a remote is the better use of a limited budget.
Gear decisions get easier once you accept that the first version of your setup is temporary by design. The lists published by TakeTones, NearStream, Trena Little, and Think Media all describe the same handful of categories, and none of them require you to spend heavily before your first upload. Buy the microphone, use the light you already have, keep your phone on a cheap tripod, and edit with free software. Then let the videos tell you what to fix.