
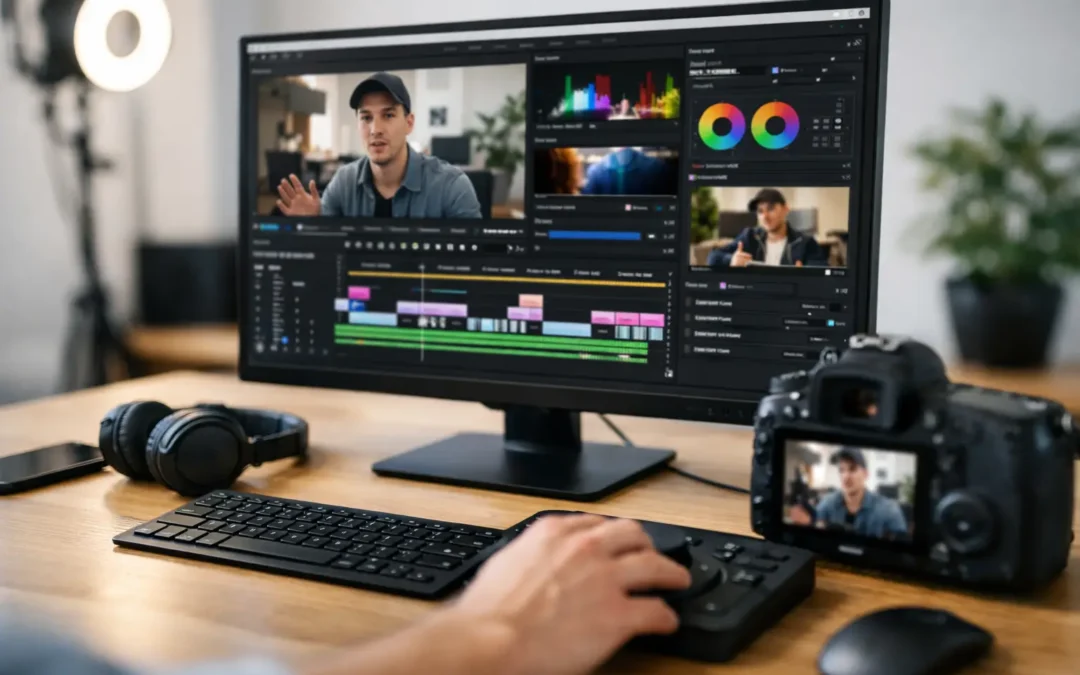
A missed cut in the first 20 seconds can cost you more viewers than an imperfect camera ever will. That is why CapCut for YouTube editing has become a serious option for creators who need to turn raw footage into watchable videos without spending weeks learning professional software.
CapCut is fast, approachable, and packed with features that help new channels look more polished. But the better question is not whether CapCut is “good.” It is whether it supports the kind of videos, workflow, and channel growth you want to build.
Where CapCut Fits in a YouTube Workflow
CapCut works best for creators who value speed. If you make talking-head videos, tutorials, commentary, product clips, Shorts, vlogs, or social-first business content, it can cover a surprising amount of your editing needs. You can trim clips, add B-roll, create captions, adjust audio, use keyframes, apply transitions, and export in common YouTube-friendly formats.
For a beginner, that matters. Complex editing software can make a first upload feel like a technical project instead of a publishing habit. CapCut lowers that barrier, especially on mobile, where you can film, edit, caption, and upload from one device.
The desktop version is usually the better choice for long-form YouTube videos. A larger screen makes it easier to manage timelines, organize media, check captions, and make precise cuts. Mobile editing is excellent for Shorts and quick turnaround content, but a 10-minute tutorial with multiple screen recordings can become frustrating on a phone.
CapCut is not a replacement for strategy. It will not choose your topic, write a stronger hook, or solve weak pacing on its own. It does, however, make it easier to act on those creative decisions quickly.
The Features That Matter Most for YouTube Creators
You do not need to use every effect or AI feature in the editor. In fact, overusing them can make a video feel dated or distract viewers from your message. Focus on the tools that improve clarity, retention, and production consistency.
Fast Cutting and Timeline Control
Most YouTube edits are won through pacing. Remove long pauses, repeated phrases, setup time, and moments that do not move the video forward. CapCut makes basic cutting accessible, so you can tighten a rough recording without needing advanced technical knowledge.
For educational videos, cut aggressively between points while leaving enough space for viewers to understand what you are teaching. For personality-led videos, keep some natural pauses and reactions. The right pace depends on your audience, not a universal editing rule.
Auto Captions and Text Overlays
Captions are one of CapCut’s strongest practical features. They can make your videos easier to follow when viewers are watching quietly, when your audio is imperfect, or when you introduce terms people may not know.
Always review auto-generated captions before exporting. Names, niche vocabulary, product terms, and numbers are often misheard. A caption error can undermine credibility, particularly in tutorials and business content.
Text overlays also help you reinforce key points. Use them for steps, outcomes, statistics, or a short phrase that refocuses attention. Avoid placing too much text on screen at once. If a viewer has to read a paragraph, they may stop listening.
Audio Cleanup and Music
Viewers will forgive average lighting before they forgive hard-to-hear audio. CapCut provides basic volume controls, noise reduction options, voice enhancement tools, and music placement. Those features can improve a simple home recording substantially.
Still, editing cannot fully repair poor source audio. Record as close to your microphone as possible, reduce room echo, and listen with headphones before publishing. Keep background music quiet enough that every word remains clear.
Be careful with music and sounds. A track available inside an editing app is not automatically safe for every commercial YouTube use case. Check licensing terms and YouTube’s copyright checks before building a recurring format around a particular sound.
Keyframes, B-Roll, and Screen Effects
Subtle movement can keep a static video from feeling flat. Use keyframes to add a small zoom during an important point, reposition an image, or direct attention to part of a screen recording. B-roll can illustrate what you are saying instead of forcing viewers to imagine it.
The goal is emphasis, not constant motion. A zoom every few seconds, random transitions, and flashy filters can make a channel look less professional. Choose one or two repeatable visual treatments that suit your topic and use them with restraint.
A Repeatable CapCut Editing Process
A dependable process is more valuable than a complicated editing trick. Build a workflow you can repeat every week, then improve it as your channel grows.
- Start with the viewer promise. Before importing footage, write the video’s central promise in one sentence. Every cut, visual, and caption should help deliver that promise faster or more clearly.
- Create a rough cut first. Put your main footage in order and remove obvious mistakes, long silences, and off-topic sections. Do not spend time choosing animations before the story makes sense.
- Strengthen the opening. Your first 15 to 30 seconds should establish what the viewer will get and why they should stay. Add a relevant visual, a quick preview of the result, or an on-screen phrase that clarifies the payoff.
- Add supporting visuals selectively. Insert screen recordings, photos, B-roll, screenshots, or text where they explain an idea better than the camera shot alone. If the visual does not add meaning, leave it out.
- Finish with captions, audio, and export checks. Correct captions, level your audio, watch the video once at normal speed, and make sure nothing important is covered by YouTube interface areas. Then export and review the final file before scheduling it.
This order protects your time. Many creators get stuck polishing a video that has not yet earned the polish through a clear structure.
Best Export Settings for YouTube
For standard long-form videos, export in a 16:9 horizontal format at 1920 by 1080 pixels when your footage supports it. Match the frame rate of your original recording whenever possible. If you shot at 30 frames per second, exporting at 30 is usually the cleanest choice. Artificially increasing the frame rate rarely improves the result.
For Shorts, use a 9:16 vertical frame at 1080 by 1920 pixels. Keep captions and important graphics away from the extreme top and bottom edges, where YouTube buttons and descriptions can compete for attention.
A high-quality export will create a larger file, but YouTube reprocesses every upload anyway. Prioritize a clean source export over trying to make the file extremely small. After upload, watch the processed version on both a phone and desktop if the video is important to your channel.
The Limits of CapCut for YouTube Editing
CapCut is a smart starting point, but it has trade-offs. Large projects with many video layers, complex color correction, detailed audio mixing, multicamera footage, or lengthy documentaries may be easier in a more advanced desktop editor. Performance can also depend heavily on your computer or phone, the length of your footage, and how many effects you add.
There is also a branding consideration. Templates can be useful for learning timing and visual structure, especially for Shorts. But a channel built entirely on recognizable template styles can blend into the feed. Your audience should remember your point of view, not just a transition they have seen 100 times.
Use AI features as a first draft, not a final decision-maker. Automated captions, clip selection, background removal, and voice tools can save time, yet they still need human review. Your editing choices should reflect your audience’s expectations and your channel’s personality.
If you later outgrow CapCut, that does not mean your early work was wasted. The core skills transfer: storytelling, pacing, audio awareness, visual hierarchy, and an understanding of what holds attention. Software is the workspace. Those skills are the asset.
Make Editing Serve Channel Growth
The best edit is not necessarily the one with the most effects. It is the one that helps the right viewer understand your value, stay engaged, and trust you enough to watch another video.
Start with CapCut if it removes friction between an idea and a published video. Track how your audience responds to openings, pacing, and video length in YouTube Analytics. Then make one editing improvement at a time. That is how a simple tool becomes part of a smarter, sustainable creator system.